The easy way to install carpet
Welcome to our simple guide for installing Cirrus carpet.
You're going to love just how quick and easy it is to install your new carpet.
Welcome to our simple guide for installing Cirrus carpet.
You're going to love just how quick and easy it is to install your new carpet.
Check for signs of moisture in your subfloor using a calibrated moisture metre. Moisture content must be;
Using a straight edge tool check subfloor is level according to relevant industry standards, 3mm deviation over 1m. Floor preparation and levelling may be required before installing your floors.
Embelton Cirrus Carpets must be stored in a regulated environment and acclimated to the site for a minimum of 24 hours prior to installation.
If the product is to be stored onsite, rolls should be stored elevated from the ground to avoid moisture damage wherever possible.
Prolonged storage should be avoided so as to ensure pile crush does not occur.
Rolls should be stored laying flat (not on their ends) to avoid creasing and distortion of the rolls.
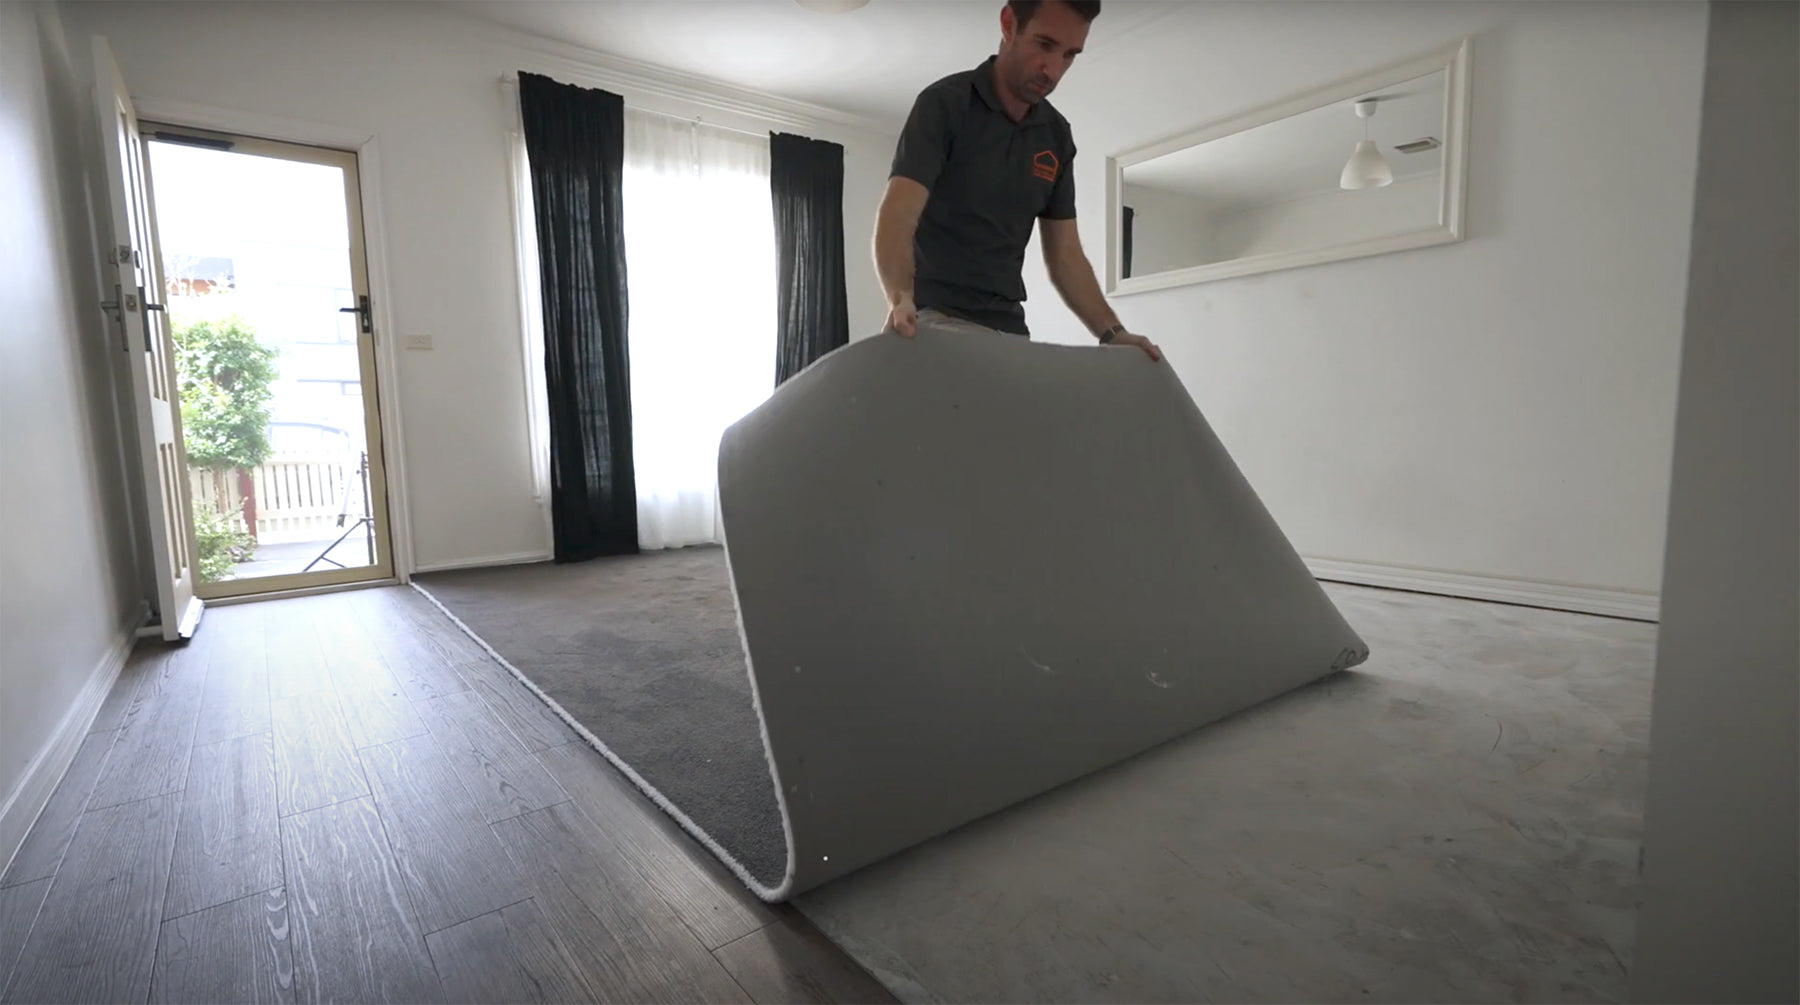
Before installation, the rolls should be laid out flat within the room they are to be installed to allow for acclimatisation and for creases/bubbles to relax.
The internal environment should be regulated to normal living conditions during this time. Room temperature is between 15-30 degrees and humidity levels are between 30%-70%.
Check each roll for any defects during the installation, exclude any material that is unsuitable for laying and contact Flooring Online should further advice be needed.
Before installation, the rolls should be laid out flat within the room they are to be installed to allow for acclimatisation and for creases/bubbles to relax.
Rolls should be stored laying flat (not on their ends) to avoid creasing and distortion of the rolls.
Before starting, measure the length and width of all rooms and hallways, be sure to plan the layout so that seam placement is optimized with joins placed away from open and high-traffic areas wherever possible.
Assess the layout of the first room where laying will commence. This should be the largest room, or the room that connects others – for example a lounge or hallway. The carpet should be unrolled in the direction of the longest straight wall, and toward the primary light source.
To determine a starting point, divide the width of the room by 1800mm. This will tell you how many lengths of carpet are required. Setout the carpet so that full carpet widths fill the main traffic areas, or main open areas, leaving fill pieces along the back wall, under joinery or under a bed for example. Then use a chalk line or straightedge to strike/mark lines every 1800m where the seams will fall.
Unroll your carpet lengths in the room, with the edges placed approximately at the chalklines. Ensure that the carpet is all unrolled so that the printed arrows on the back of the carpet are all pointing in the same direction. NOTE: CARPET IS DIRECTIONAL. ALWAYS ENSURE THE ARROWS ON THE BACKING ARE FACING THE SAME DIRECTION
Using a scriber, (or a ball-point pen) angled at approximately 45 degrees, run the scriber along the length of the carpet, approximately 10mm in from the edge, to separate the rows of pile from one another and create a straight line.
Take your cushion back cutter, and ensure it is fitted with a sharp blade that is set to match the thickness of the carpet backing.
Insert the cutter into the separated row, and make the cut, following the line along the carpet edge in a smooth motion from one end to the other. Don’t worry if it does not cut all the way through, you will have scribed the backing enough to make it easy to complete the cut afterwards with the Stanley knife.
Repeat this process for each side of each carpet seam before setting up the carpet edge onto the chalkline and butting the two pieces closely against one another.
Now the starting point has been determined and the carpet sheets setout, it is time to spread the adhesive. Peel back each carpet sheet in half, being careful to ensure the carpet does not move as you do so.
Using your 3.2mm v-notch trowel, spread the adhesive to ensure even and consistent coverage to all areas (approx. 5m2 per litre). Trowel only enough adhesive for the flooring to be laid within the working time of the adhesive. This is typically two to three sheets at a time. If in doubt, start with fewer sheets. If any adhesive gets on the surface of the vinyl, immediately wipe it off with multiclean or an appropriate adhesive removal wipe.
Carefully fold the first piece of carpet into the adhesive, ensuring it remains correctly aligned to the chalkline or setout marks.
Carefully and slowly, fold the second piece of carpet into the adhesive, alongside the first, ensuring as you go that there is no pile trapped between each of the sheets. Kick the second carpet sheet across to meet the first to ensure they are tightly butted together and that the carpet backing is touching.
Roll or apply pressure to the carpet, especially along the seam to ensure there is good adhesive transfer. If any bubbles have formed these can be pushed out to the edges with your hands.
Repeat the process on the opposite half of the carpet to complete the installation.
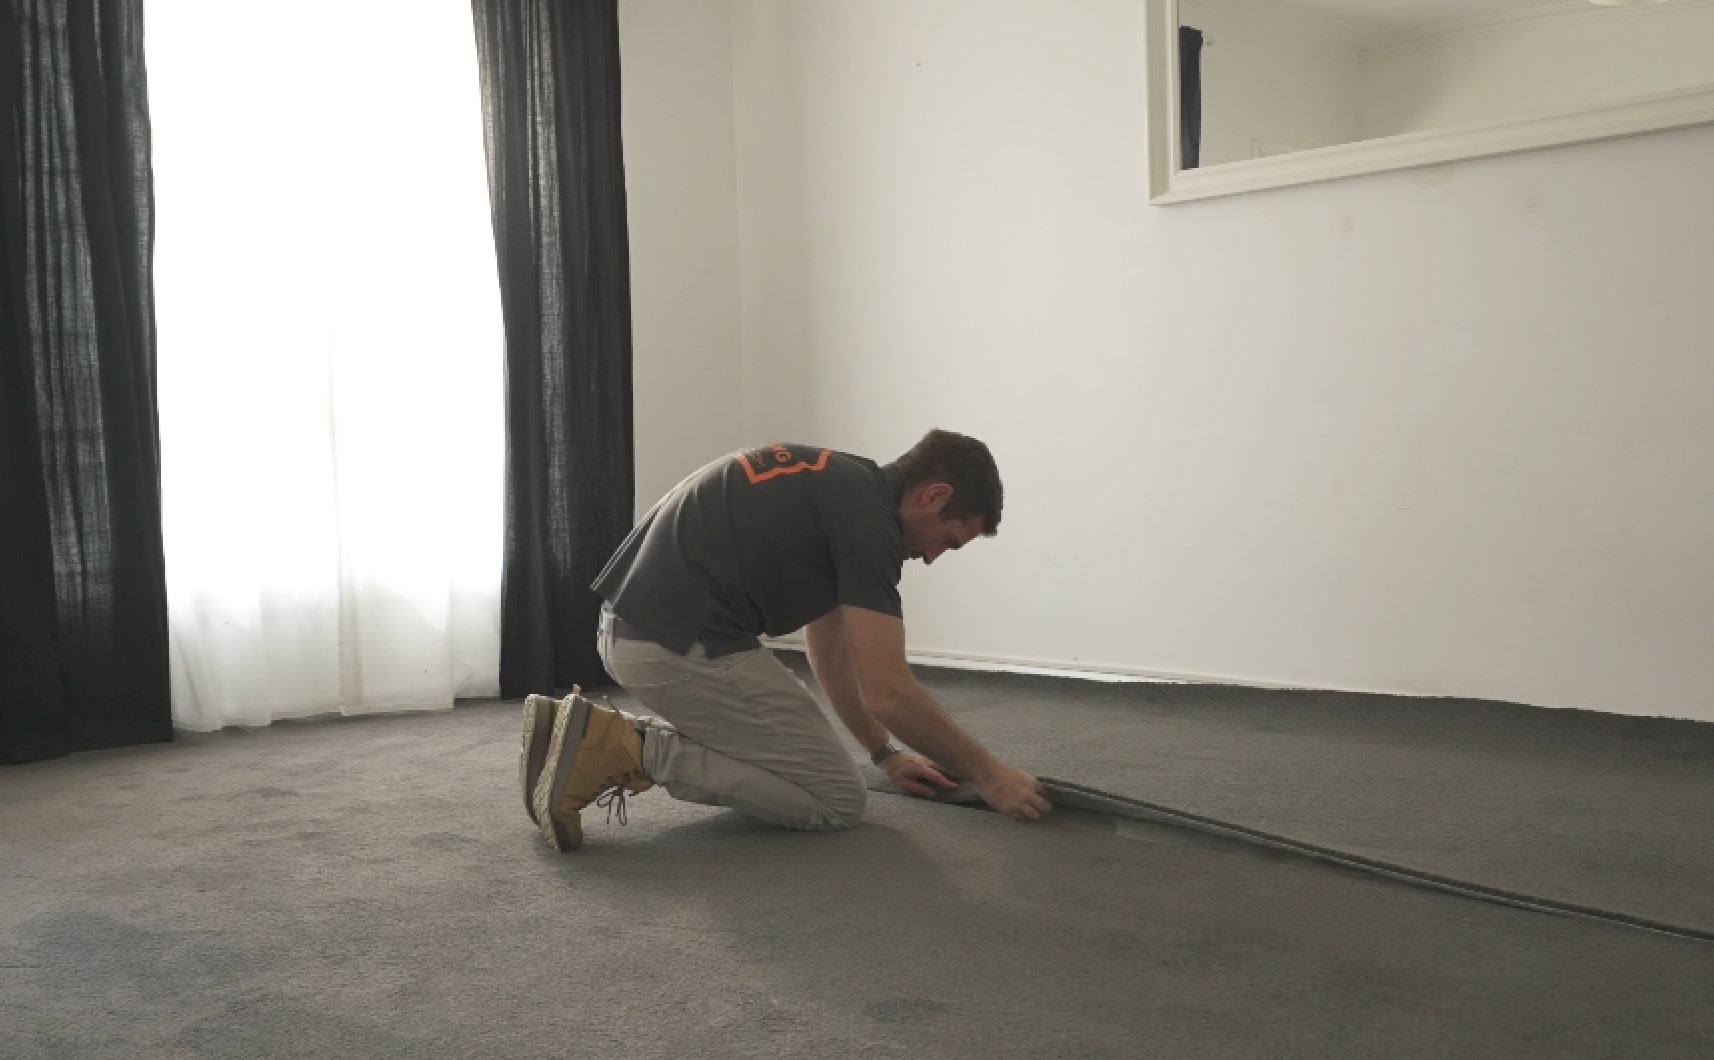
Finally, it is time to trim the carpet to the edges of the room and adjacent fixtures. Push all the carpet into the wall to ensure it is placed as neatly and tightly into the wall as possible. Using your Stanley knife at an angle of approximately 60 degrees to the skirting board, make a straight and smooth cut along the straight walls. It is always better to start cutting slightly longer, then getting closer and closer to the correct length as you build confidence.
When coming to corners, pull the carpet back from the edge and cut the carpet from the back using the line you have cut along the straight walls as a guide. Again, cut conservatively, check and then cut again if needed.
When cutting along trims at edges with other finishes (such as a tile edge) you may simply use the trim edge as a guide with the blade angled slightly to ensure the carpet pile overlaps the hard edge.
Your carpet installation is now complete! Ensure all the edges are neatly tucked in, and trim any loose fibres using knapping shears (or household scissors)
It is advisable to wait at least 1 hour before vacuuming and moving furniture back onto the carpet to allow the adhesive to cure.
Always be careful to lift furniture into place rather than dragging to avoid damage, and the use of floor protectors is recommended for heavy items with small legs to distribute point loadings and minimise pile crush.
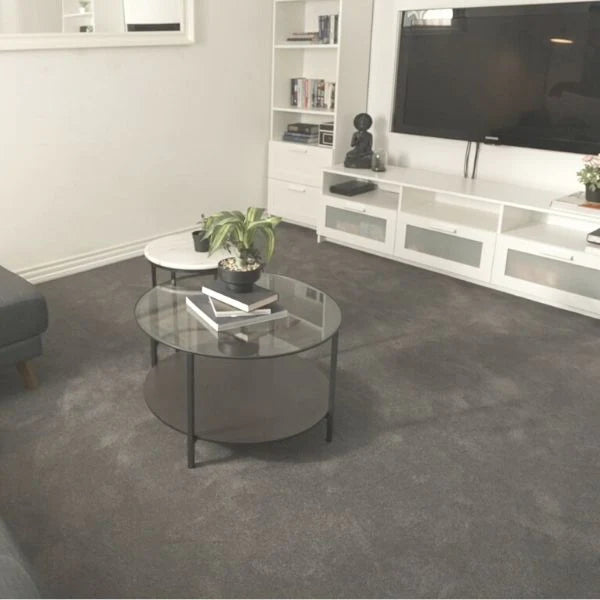
Congrats, you did it! Before you kick back and admire a job well done, don’t forget to snap some photos and share your new carpet. Tag us on Instagram @flooringonlineau to really make our day.
Our experienced team are here to help on 1800 718 427 or chat with us online.
Yes, carpet is designed for glue down installation.
Yes, a maximum of 4mm deviation over 2 meters is the industry standard.
No, Flooring Online’s Cirrus carpet has an integrated underlay.
Subscribe for new floors, interior tips and home tours
Postcode not found, please try again